

Table of Contents
Laserox Outer Rim Insert is yet another example that exemplifies why I love this company. Laserox sent the Outer Rim Insert to me to tie into The Outer Rim review I recently published.
If you have read my other reviews, you will know I do not care about anything other than telling you the truth and so these thoughts and opinions on the insert are my own.
Laserox produces, in my opinion, the most well-thought-out products in the insert space. Without having met them I know these guys are gamers, I know they play the games they make inserts for because they work for storage and for play.
The Build
This was not an easy build. I have put together more inserts than most and I can put my hand on my heart and say that I struggled at points.
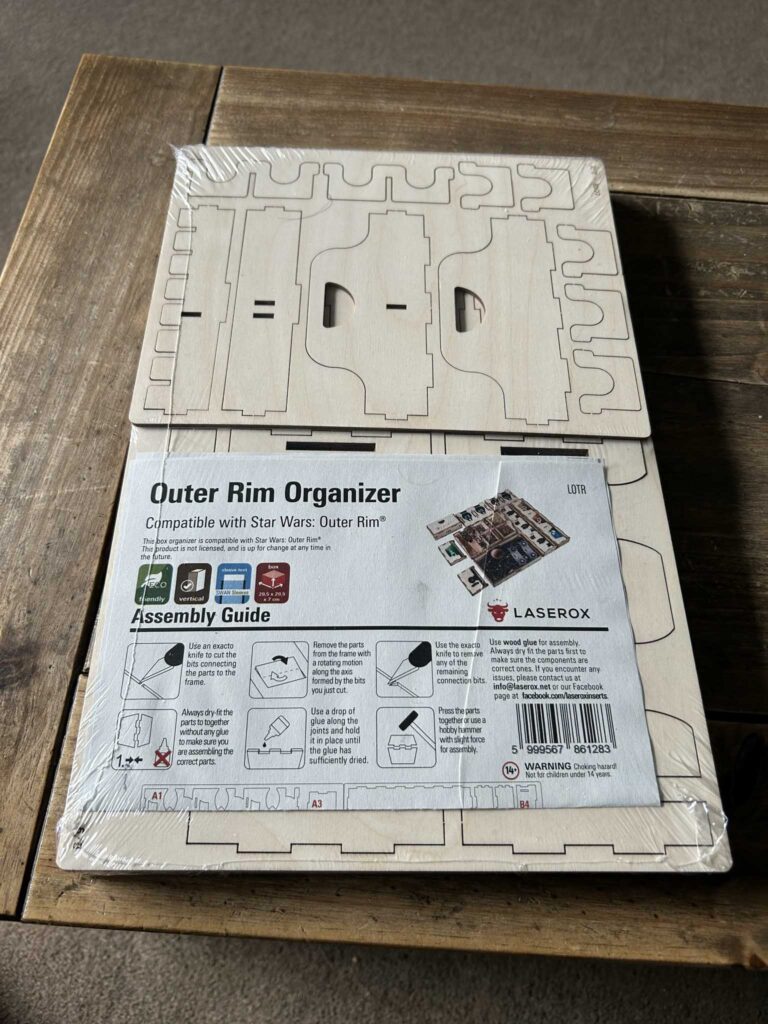
If you have never seen an insert flat packed before I should explain that each sheet has components that are almost fully laser cut from the birch plywood that makes the set.
These components are held in place by tiny tabs of uncut wood. For smaller pieces, there are ordinarily two tabs and large pieces can have far more.
The Outer Rim insert has some very thin & some very small components that make them very difficult to remove from the sheets.
Not only that, the components are cut extremely well so they fit tightly into their reciprocating locations.

I should explain that best practice says you should dry-fit the components before glueing to avoid errors. I tend to follow best practices because that gets the best results and leads to fewer errors.
This meant that the build was long, an hour and a half, and it was difficult, to use my oversized beef burger hands to gently remove the components and then delicately locate them into their final positions without using too much force was extremely hard.
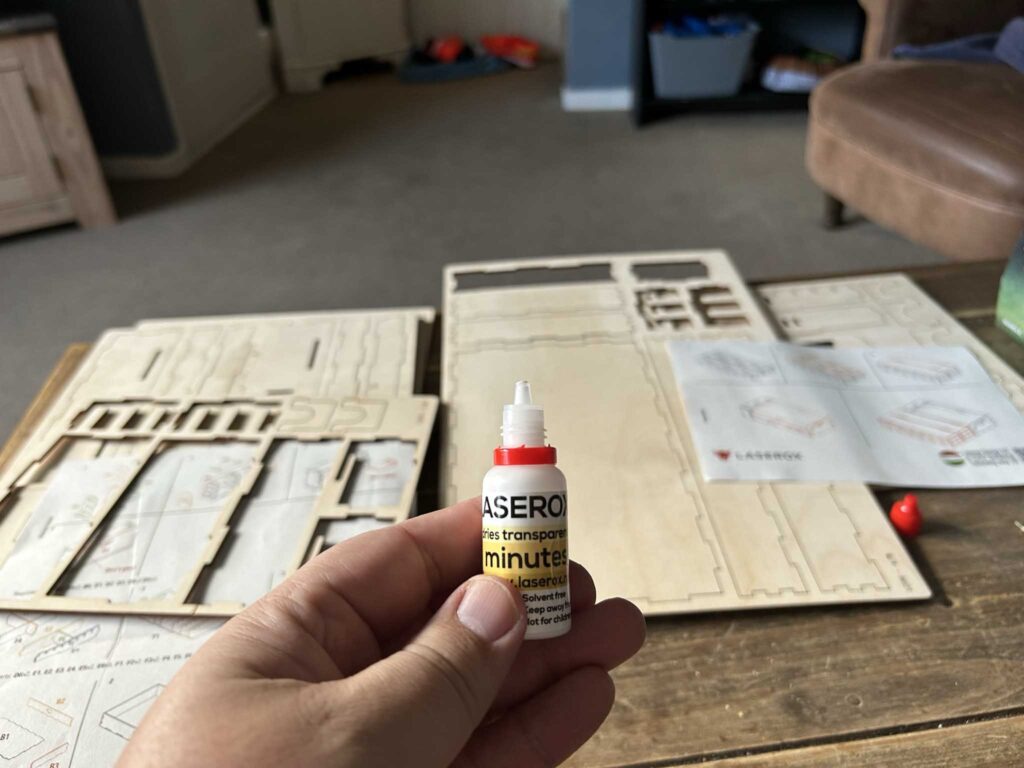
That said, I found the instructions very clear and easy to follow, but, I have to say that this is my first gripe. The instructions are on one side of an A4 sheet, the locations were printed on the other side which meant I was constantly flipping the page.
It was frustrating and annoying especially when I had to hold a component together because I realised I needed another part.
I think for the sake of a few pence it would be better to have the locations on a separate sheet that can be referenced, hands-free, whilst building.
The other issue I have is that the instructions don’t include an explanation of how to fit the finished insert together to make sure it fits in the Outer Rim box.
It wasn’t too complicated to work out but again, I have built a lot of inserts. If this is your first build, take your time, go slow and make sure you check the component you have is the right part before glueing.
With the Outer Rim Insert, I was also sent some Laserox brand glue. I don’t know if this is sent with every purchase or to reviewers only but it was fantastic.
A container that resembled a Vallejo paint dropper bottle is arguably the best solution for building inserts.
It’s small enough to get into the little places and has a perfect size nozzle to dispense the small amount of glue required.
The best part is the glue itself was ideally suited to the job. It dried quickly and left no residue which I find wood glue often can.
The Outer Rim Insert components
Once you have finally managed to build the entire kit and let everything dry it’s time to decant your game from its baggies into the various containers and compartments of the insert.
This is when you realise how good Laserox is. Not only does the design work for storage but it looks great in doing it.
Each of those fiddly cuts that caused you problems in the assembly stage become the embellishments that add flavour to each component.
Sure, it will be harder to build but the Outer Rim insert is only built once, it will look good forever.
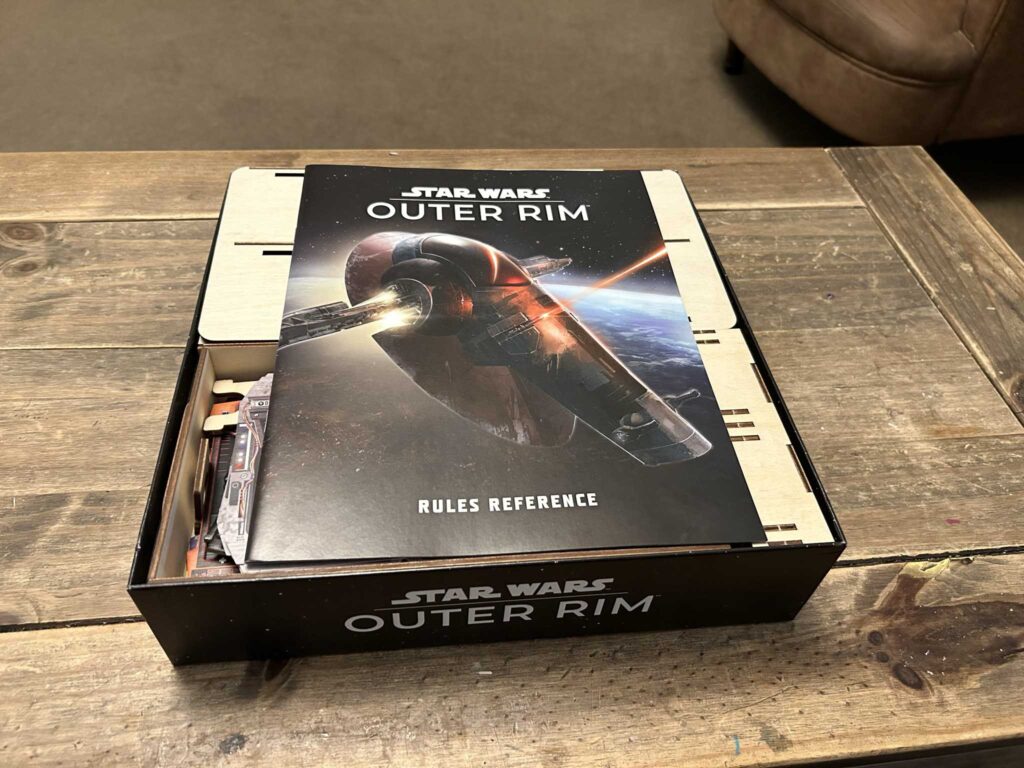
In the Box
There is an uncharacteristic miss from Laserox here, The Outer Rim Insert has great instructions but misses the bit where they show you exactly how it goes together to fit in the box.
It was simple to work out and perhaps that’s why it isn’t spelt out however if this is the first insert you have ever purchased I could see this being an issue.
On the Laserox website, some of the reviews point out that the instructions weren’t clear enough so people glued a part on the wrong way round.
This is why you should dry fit first and these mistakes wouldn’t have happened. To be fair both of the people that did this posted in German. This lack of planning is probably why Hitler lost the war.
Nazi jokes in a review about Star Wars, that is pretty impressive.
What do you get?
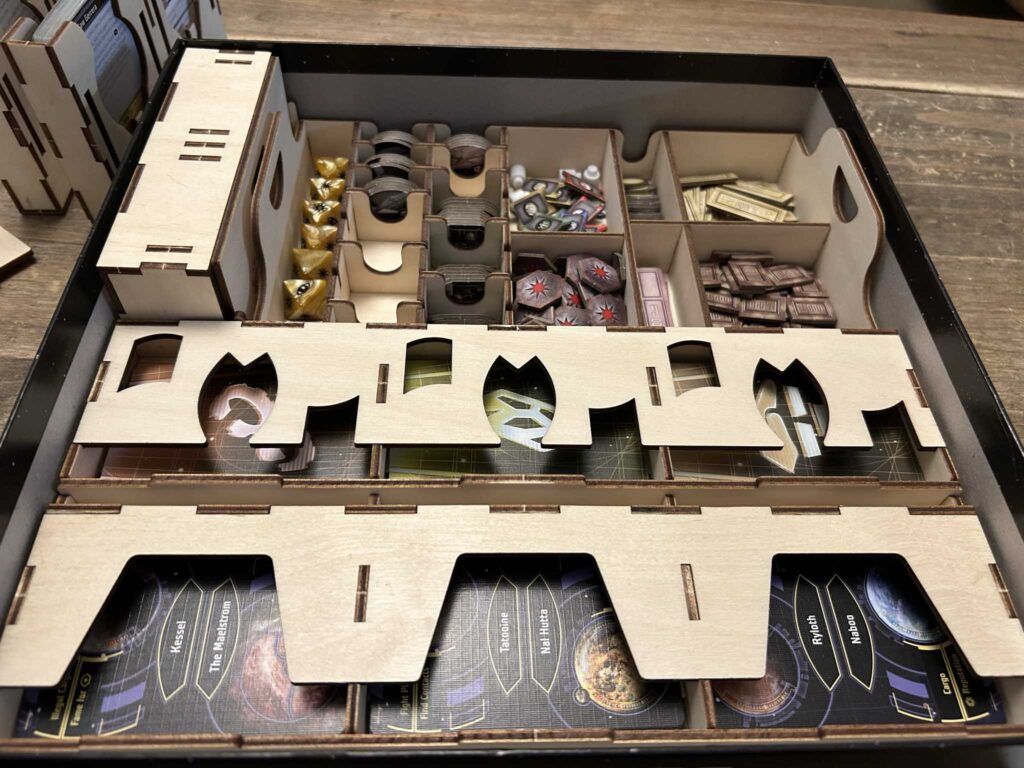
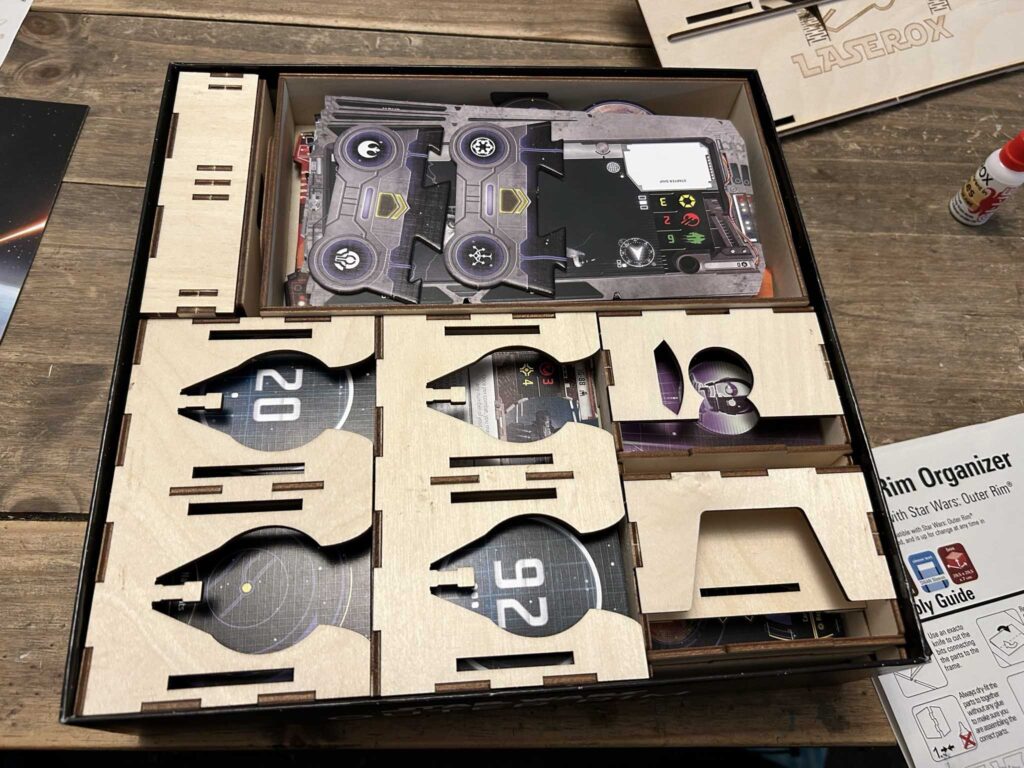
So the insert has a tray to hold the Ship cards, the player dashboards and the map tiles. Inside of this sits the token tray that holds the dice, money chips, tokens for damage etc and locations to keep the separated contact and patrol tokens.
Next, there are two of the three slot card holders that hold the six encounter cards for planets and Maelstrom.
Then you have two, two slot card holders that hold the databank cards, player character cards and reference cards.
There are two separate holders for the Automa deck and the Nav point encounter cards.
There are two, three slot holders for the market cards. Which holders you choose for which cards are up to you but I chose to put the market cards into the holders with the more interesting design.
There is a closable box that holds the Standees and finally, there is a wooden display that holds the current market cards.
All of the card trays in the Outer Rim Insert have lids that can be used to angle the trays for ease of use.
The people that designed this insert, the Laserox people, play this game and it shows, doesn’t it?
During Play
The embellishments serve another purpose, during play they add flavour to your game, they are in keeping with the aesthetic that sits on the table because the Laserox Outer Rim insert is not just a storage solution.
If you have read my Outer Rim review you will notice that I mention several times that set-up is a pain.
Considering the number of counters that need to be placed in a specific order and the number of card decks that need shuffling and organising, the token pools that sit on the table during a game The Outer Rim is a table hog at the best of times.
With the Laserox Outer Rim Insert in use, set-up takes less than five minutes and it doesn’t feel “fussy”.
I am not sure fussy is the right word but when I think about playing I get that feeling that there is a lot to do before you can finally play, especially if you are playing solo or teaching the game and that often puts me off.
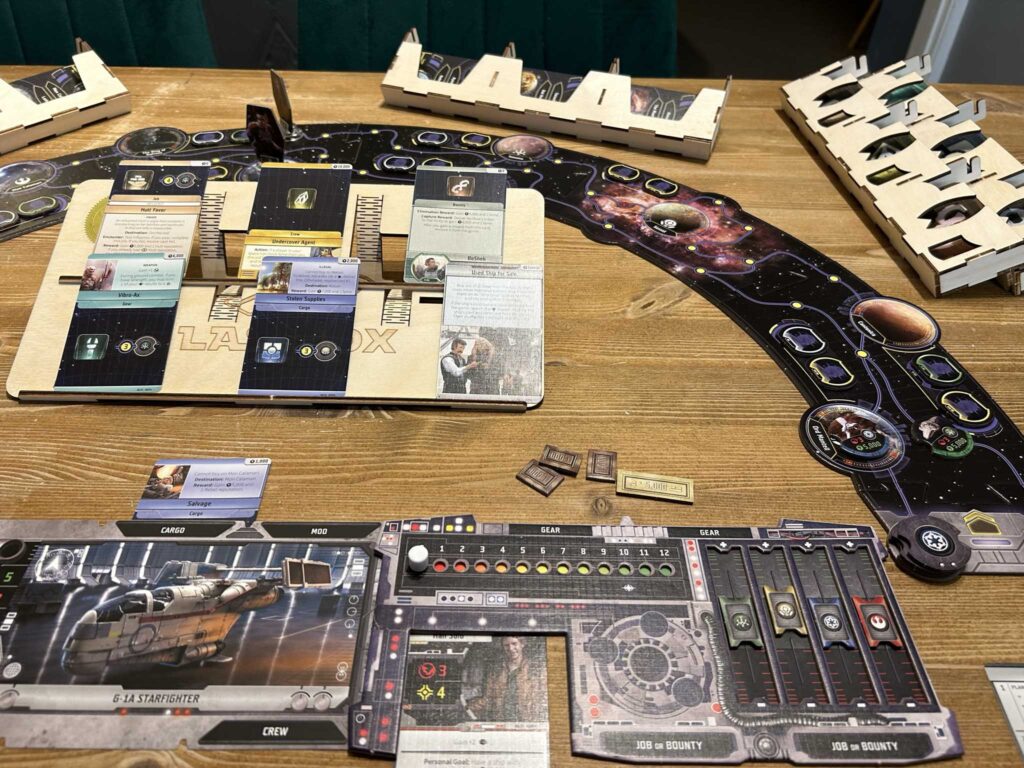
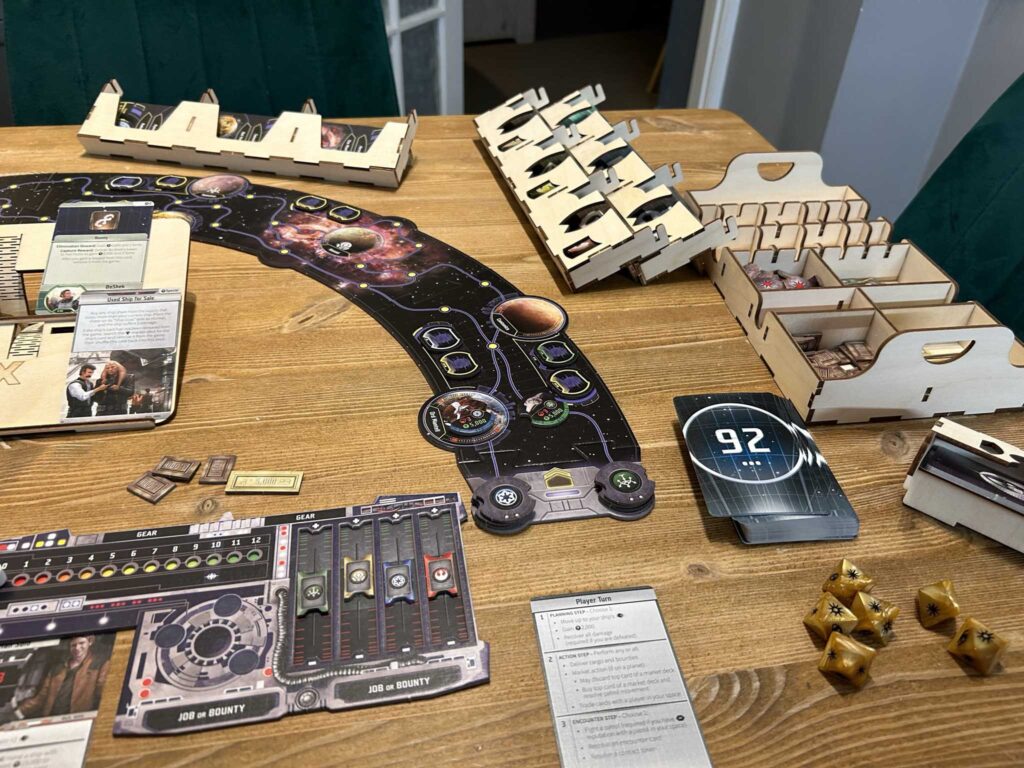
The images I have shared are from a solo game I was playing. The Outer Rim insert means two things, firstly, I don’t mind having a “quick” solo game. By quick I mean, play The Outer Rim instead of grabbing Arkham Horror or Marvel Champions because the time it takes from grabbing the box to playing the game is measurably faster than most other games I own.
Secondly, The Outer Rim is a table hog, cards and tokens sprawl in every area leaving very little room on a standard dining table for the player’s dashboard and items.
A four-player game of The Outer Rim takes up more table space than a 6 player game of Zombicide which means that it is often a squeeze to fit everyone around the table.
When you use the Laserox Outer Rim Insert for a solo game you can place everything within arm’s reach and not knock anything over.
There is also a really cool display tray for market cards. Putting it together was a pain because it has the thinnest components but once made it looks incredible and serves to remove the market cards from the centre of the table.
I do have an issue when it comes to four-player games in that some players will find it difficult to see what cards are available purely because the market tray can be placed on a front-facing angle.
We tend to set up with two on one side of the table and one person in the left and right seats. This makes it a bit more of a squeeze but certainly far more useful than having piles of cards being knocked over every time some on draws from the decks.
This brings me to the cardholders. Setting up using them is as simple as taking them from the box, removing the cover and laying them on the table within reach of everyone.
I like to shuffle each deck when I come to break the game down. This means that the next time I come to set up I know I can just lay the game out and start playing.
Take a look at the images, the insert looks incredible on the table and it started a debate at Thursday’s game club about whether I should paint it or not, it was only then I realised the amount of interest in the insert and how much of an impact it must have been having on the look of the game.
We have played The Outer Rim before and we didn’t get as many comments or as many people asking about the game as we did when the insert was on display.
The same thing happens when I take Nemesis. The Laserox insert for Nemesis has some serious table presence and whilst The Outer Rim Insert does stand out it certainly is far more subdued in its look, probably due to the fact there are no miniatures so it doesn’t need to be as high.
That leads me to the Standee box. It’s an excellent solution to standee storage and keeps everything neat. I have no idea why but I was reminded of the 1950s cigarette cases that would lift a cigarette out for you.
The one thing I haven’t mentioned and perhaps should is that I think there is room in the Outer Rim Insert to store the Unfinished Business expansion which comes with an additional 8 standees, and eleven contact tokens. The storage for tokens has plenty of space to accommodate and the cards would fit easily. However, I cannot say this for certain as I do not own the expansion.
In Summary
The one takeaway I want you to have from my Outer Rim Insert review is that if you play The Outer Rim, you absolutely have to spend the €43 (£37.75 or $46.60) because this insert is worth every penny.
Sure it’s not perfect but what in the world is? This insert solves 99% of my problems with setting up and playing the game and if you own The Outer Rim you owe it to yourself to get it to the table as often as possible.
The Outer Rim Insert from Laserox exemplifies what an insert should do. It should securely store your game, vertically if possible, which it does.
It should make it easier to set up and break down, which it does.
If possible it should look cool, I think we can all agree that this insert looks amazing.
If I ever do get around to painting the Laserox Outer Rim Insert I will update this post with pictures, well, only if it turns out great!